How to Set Up a Crypto Hardware Wallet in 2026 (Step-by-Step Guide)
Affiliate Disclosure: This article may contain affiliate links. We may earn a commission at no extra cost to you. All opinions are our own.
Marcus Chen
Senior Crypto Analyst & Educator
Certified Blockchain Professional | Former Wall Street Analyst
Marcus Chen is a cryptocurrency analyst and educator with over 8 years of experience in digital asset trading. He has helped thousands of beginners navigate the crypto markets through practical, actionable education.
How to Set Up a Crypto Hardware Wallet in 2026 (Step-by-Step Guide)
Setting up a crypto hardware wallet in 2026 is one of the smartest security moves you can make — and it's easier than most people think. With exchange hacks, phishing attacks, and regulatory uncertainty still very real risks, keeping your private keys offline is the only way to truly own your crypto. This step-by-step guide walks you through the entire process, including the latest 2026 security features you should know about.
Why Hardware Wallets Matter More Than Ever in 2026
In 2026, hardware wallets have evolved significantly. The latest devices feature Common Criteria (CC) EAL6+ certified Secure Elements — the same security chips used in passports and banking cards. Newer models like the Ledger Flex use SE-driven touchscreens, meaning the display is controlled directly by the secure chip, making it impossible for malware to spoof transaction details. Air-gapped signing via QR codes (used by Keystone and SafePal) has also become mainstream for users who want zero data connection between their wallet and any online device.
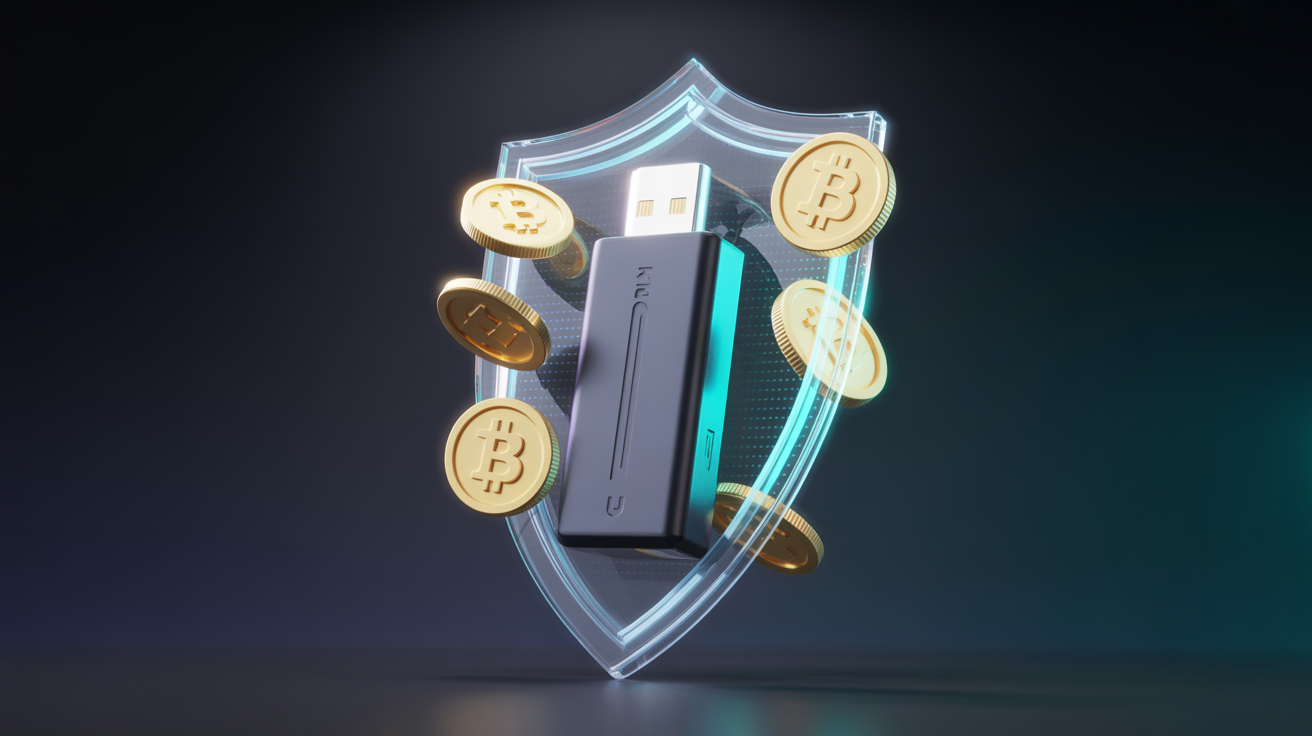
Protect your crypto assets with a Ledger hardware wallet — the gold standard in cold storage security, now with EAL6+ certified secure element protection.
Step 1: Choose Your Hardware Wallet
The two most trusted brands remain Ledger and Trezor. Ledger's devices (Nano X, Flex) use proprietary secure elements with broad DeFi app support. Trezor's devices (Model T, Safe 7) use fully open-source firmware, which security researchers can audit independently. Both are excellent choices — your decision comes down to whether you prioritize ecosystem breadth (Ledger) or open-source transparency (Trezor).
Always buy directly from the manufacturer's official website or authorized retailers. Never purchase a hardware wallet from eBay, Amazon third-party sellers, or any source where the device could have been tampered with before reaching you.
Step 2: Unbox and Verify
When your device arrives, check the packaging for tamper-evident seals. Ledger devices include holographic stickers; Trezor uses a sealed bag with a security check built into the device itself. If anything looks opened or damaged, contact the manufacturer immediately — do not use the device.
Step 3: Install the Companion App
Connect your device to your computer and install the official companion app: Ledger Live for Ledger devices, Trezor Suite for Trezor. Download only from the official manufacturer website. These apps manage firmware updates, account creation, and transaction signing.
Step 4: Initialize and Set Your PIN
Follow the on-screen prompts to initialize your device and set a PIN. Choose a PIN you'll remember but that isn't obvious — avoid birthdays, sequential numbers, or anything someone could guess. Most devices allow 4-8 digit PINs; longer is better. After too many wrong PIN attempts, the device wipes itself — this is a security feature, not a bug.
Step 5: Record Your Recovery Phrase — This Is Critical
Your device will generate a 12 or 24-word recovery phrase (also called a seed phrase). Write it down on paper — never type it into any device, take a photo, or store it digitally. This phrase is the master key to all your crypto. If someone gets it, they own your funds. If you lose it and your device breaks, your crypto is gone forever.
Store your recovery phrase in multiple secure physical locations. Consider a fireproof safe, a safety deposit box, or a metal backup plate (available from several manufacturers) that won't degrade over time.
Step 6: Update Firmware
Before transferring any crypto, update your device's firmware through the official companion app. Firmware updates patch security vulnerabilities and add support for new assets. This takes 5-10 minutes and is non-negotiable.
Step 7: Create Accounts and Transfer Crypto
In your companion app, create accounts for each cryptocurrency you want to store. Generate a receive address, verify it on your device's physical screen (this is important — always verify on the device, not just the computer screen), and send a small test amount first before transferring your full holdings.
Also see: Binance vs Kraken 2026: Which Exchange to Use for Withdrawals — choosing the right exchange affects withdrawal fees and speed when moving crypto to cold storage.
2026 Security Best Practices
- Never share your recovery phrase with anyone, including "support" contacts
- Always verify transaction details on the device screen before confirming
- Update firmware regularly through official apps only
- Consider a passphrase (25th word) for an additional security layer
- Test your recovery phrase with a small amount before storing significant funds
Frequently Asked Questions
What happens if I lose my hardware wallet?
Your crypto is safe as long as you have your recovery phrase. Buy a new device, restore using your seed phrase, and all your funds will be accessible again. This is why protecting your recovery phrase is more important than protecting the device itself.
Can I use one hardware wallet for multiple cryptocurrencies?
Yes. Both Ledger and Trezor support thousands of cryptocurrencies on a single device. You create separate accounts for each asset within the companion app.
Is it safe to buy a hardware wallet from Amazon?
Only if you're buying from the official manufacturer's storefront on Amazon (e.g., "Sold by Ledger" or "Sold by Trezor"). Avoid third-party sellers. When in doubt, buy directly from the manufacturer's website.
How often should I update my hardware wallet firmware?
Update whenever a new firmware version is available through your official companion app. Security patches are released periodically and should be applied promptly.
What's the difference between a hot wallet and a hardware wallet?
A hot wallet (like MetaMask or Phantom) is connected to the internet, making it convenient but vulnerable to online attacks. A hardware wallet stores your private keys offline, making it immune to remote hacking. Use hot wallets for small amounts you're actively trading; use hardware wallets for long-term storage.
Key Takeaways
- 2026 hardware wallets feature EAL6+ certified secure elements and SE-driven displays
- Always buy from official manufacturer sources — never second-hand
- Your recovery phrase is more valuable than the device — protect it offline
- Update firmware before transferring any crypto to your new device
- Verify all transaction details on the device screen, not just your computer
Want structured training instead of piecing it together yourself?
Self-education works, but it's slow. The course that accelerated my learning the most gave me a daily framework — real market analysis, real setups, real accountability.
The program I recommend to people who ask me is this crypto trading course — it\'s the one I point friends and family to when they\'re serious about learning. Daily lessons, live analysis, and a community that actually helps.
Affiliate link — I may earn a commission at no extra cost to you. I only recommend what I genuinely use.
Disclaimer: The information provided on this website is for educational and informational purposes only. It should not be considered financial or investment advice. Cryptocurrency investments carry significant risk. Always do your own research and consult with a qualified financial advisor before making investment decisions.
Free Crypto Insights
Get weekly trading tips, market analysis, and exclusive strategies delivered to your inbox.